Canning Homemade Chicken Bone Broth

Hey there! Hope you are having a great day!

I canned some homemade chicken bone broth the other day, and wanted to share my very simple recipe!

I made a video of how I do this as well, so be sure to check that out here!

Ingredients:

Organic chicken bones (I cook a whole chicken and we eat it for dinner, then I save the bones to use to make the broth)

Purified water

salt and pepper

carrots, onion, celery

apple cider vinegar

Directions:

Add all of the ingredients to a crock pot and fill to the top with the purified water, and let cook on low for 12+  hours

After it is done cooking, you can strain everything out, and reboil the broth while getting your canner ready.

Once the broth is boiling, you can fill empty quart jars, get those lids on, and put them in your canner.

Then process the quarts for 25 minutes at 10 pounds of pressure!

Easy peasy!

What is your favorite thing to can?

Let me know in the comments!

Amanda

The Unhealthy Husband

Are you married to a man that loves to eat candy, drink soda, and likes to indulge in a whole pan of brownies in one sitting?

So was I.

When I first met my husband, he was eating some of the most unhealthy foods and didn’t seem to care.

You should have seen his face when I asked him why he was eating so much white bread. I told him, “the whiter the bread, the sooner you’re dead”.

He looked at me like I was crazy, and all the while, I was trying to keep him healthy.

As the years went on, he developed a strong craving for candy. Sour patch kids, Twizzlers, Reese’s, and all those processed sugars.

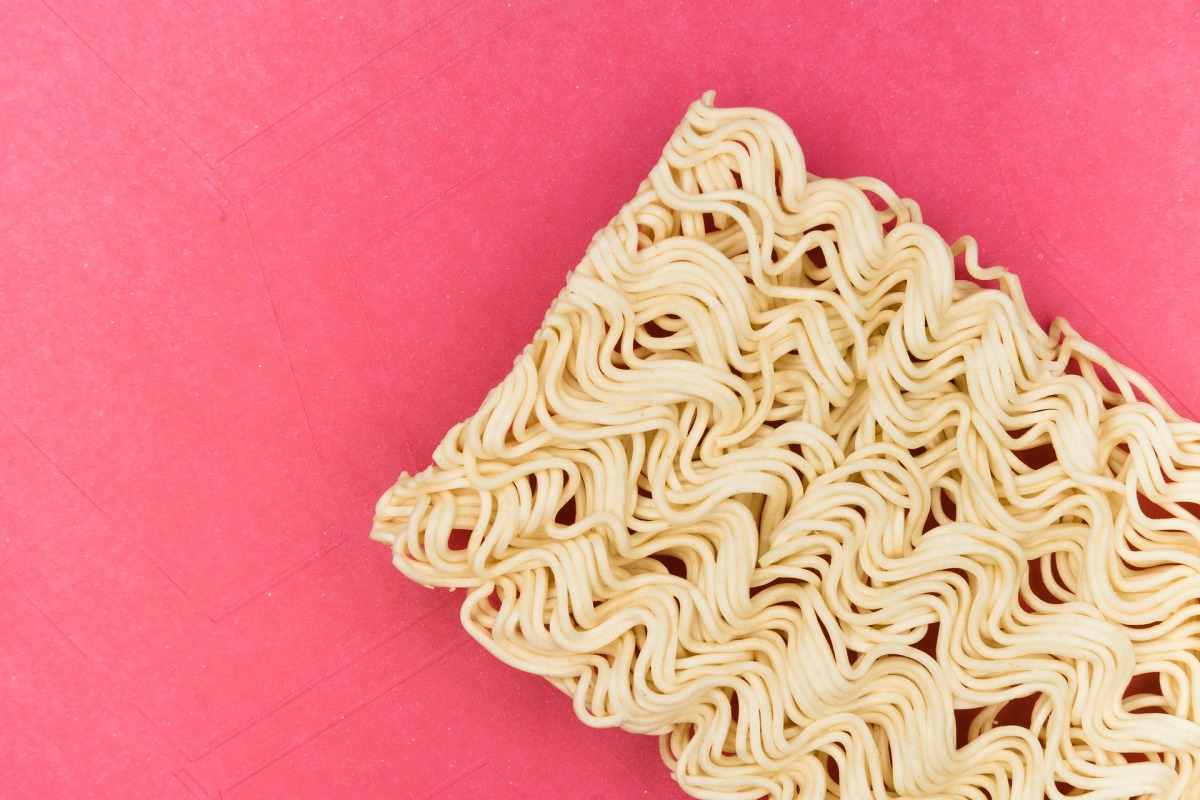
And when he worked out of town, because he is cheap, he survived off a diet of Ramen noodles, which I told him before was possibly the worst food he could ever eat.

MSG, TBHQ, and high sodium were never meant for our bodies to consume. Eating Ramen noodles is like drinking a can of MSG, TBHQ, and sodium.

It turned my husbands gut into a blood bath. And proceeded to exit his body in that fashion.

We ended up at the doctor’s office one day because he was having bloody stools and he really thought he may have had colon cancer. Thankfully, it was just a bad case of hemorrhoids.

I continued to make comments about why he should eat healthier food and not consume any processed foods and artificial ingredients.

His usual answer was, “I’ll be okay, it’s just food! You’re making a big deal for nothing, it’s all the same.”

But over time, he ended up having to pay the piper.

It was then that he realized that it was time to make some changes.

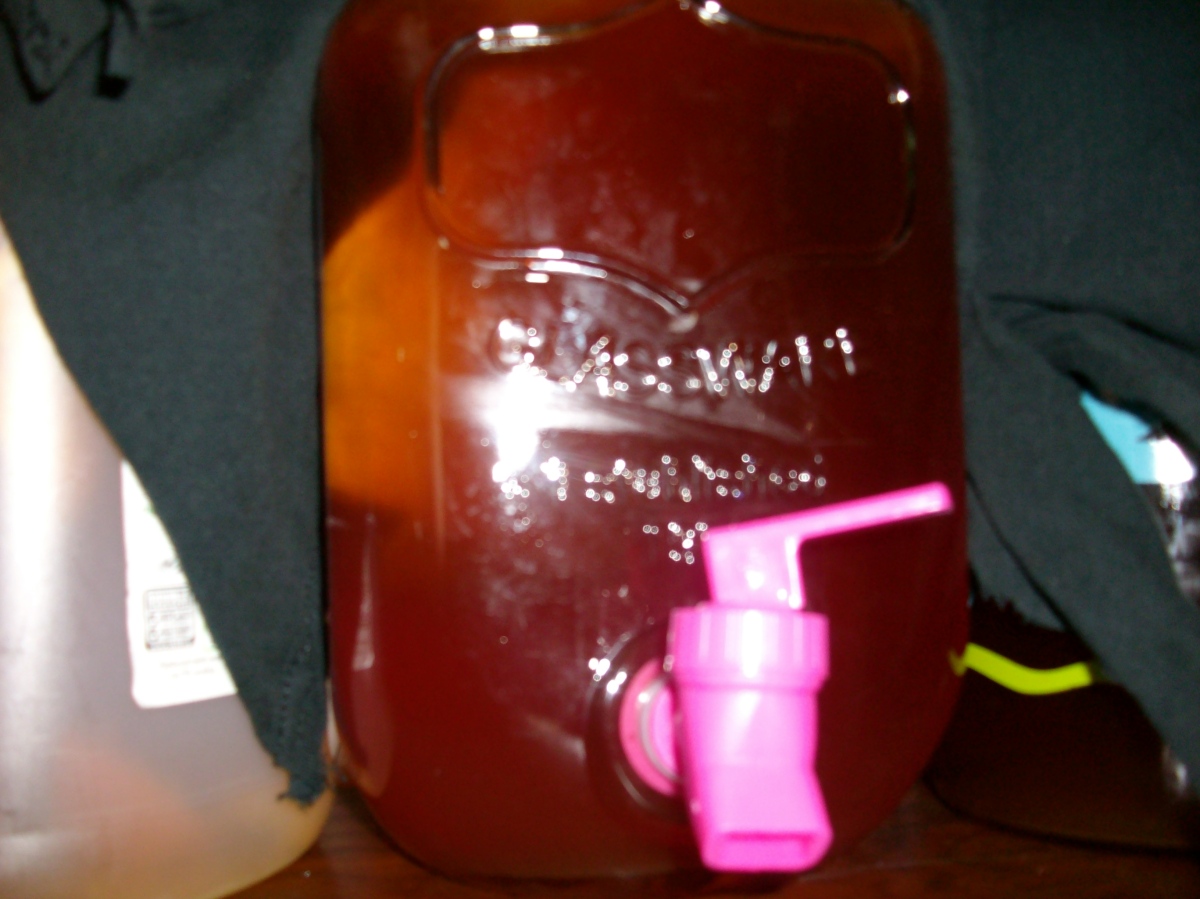
He stopped eating processed food, drinking soda, and cut way back on the candy. He started walking, drinking lots of water, and green tea with lemon.

After much resistance, he eventually broke and became the one reading the ingredients at the store before buying anything (he used to make fun of me for looking at the ingredients). 

And ever since he changed his eating habits, he hasn’t had any issues like he had before when he was eating so unhealthily.

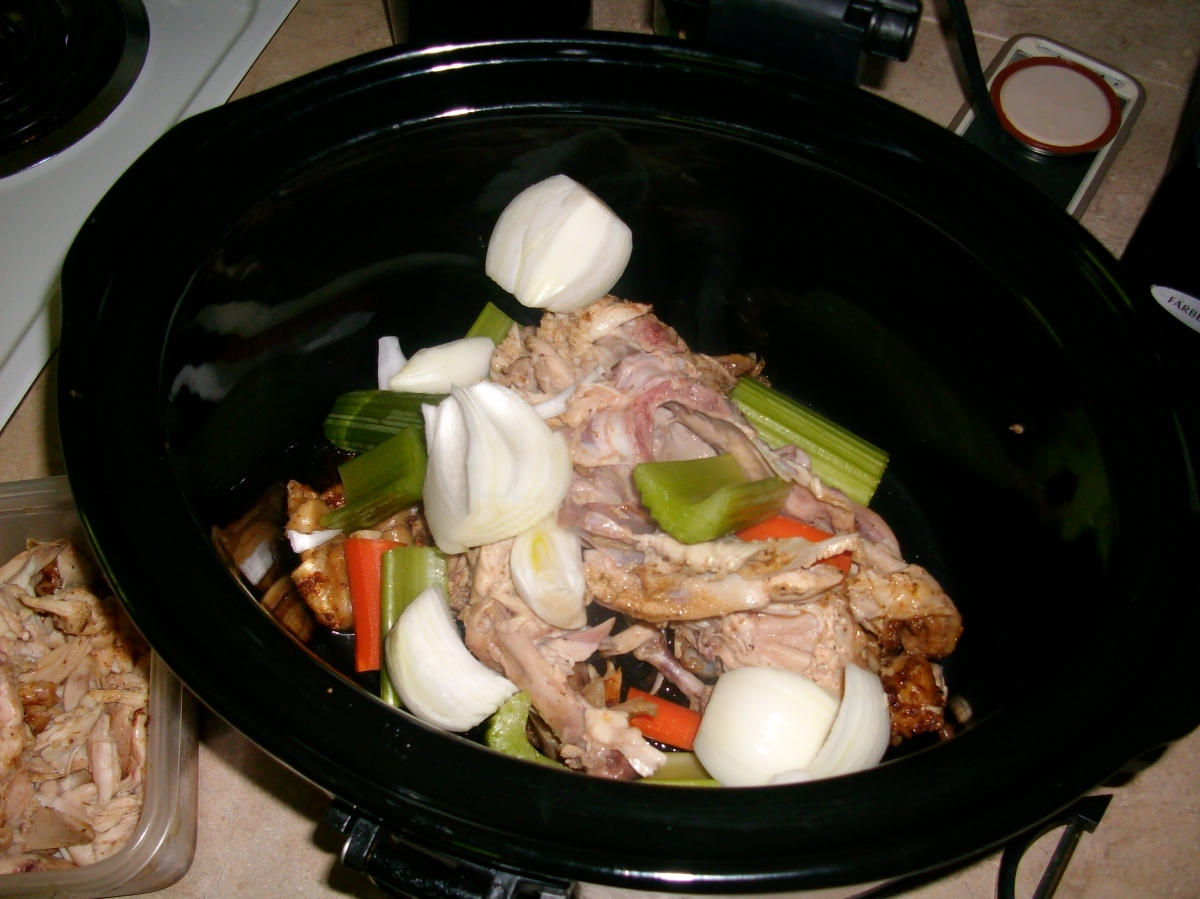
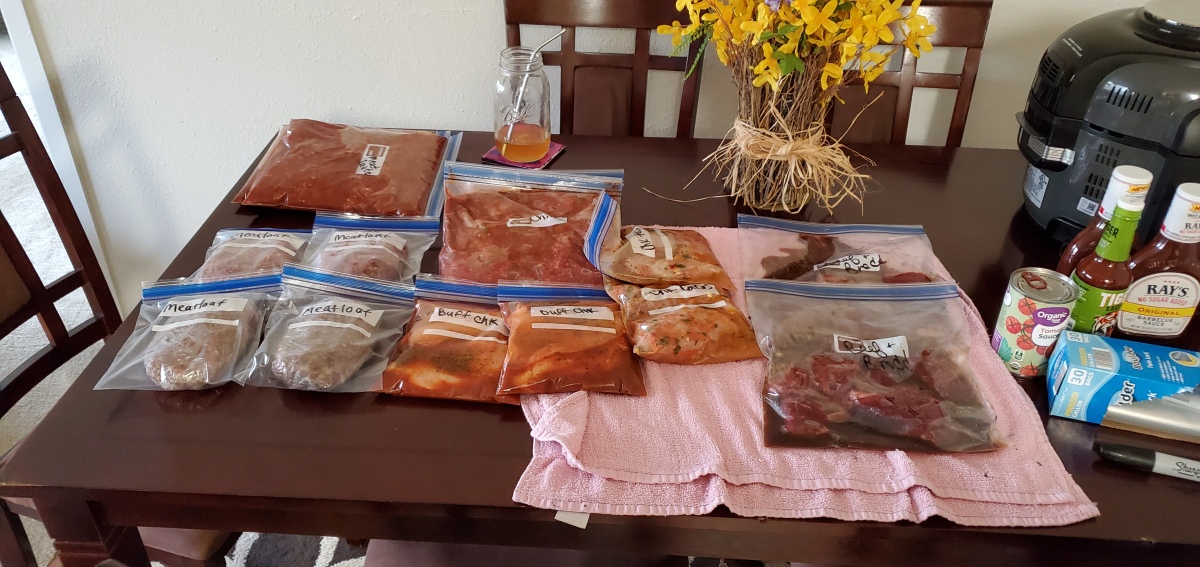
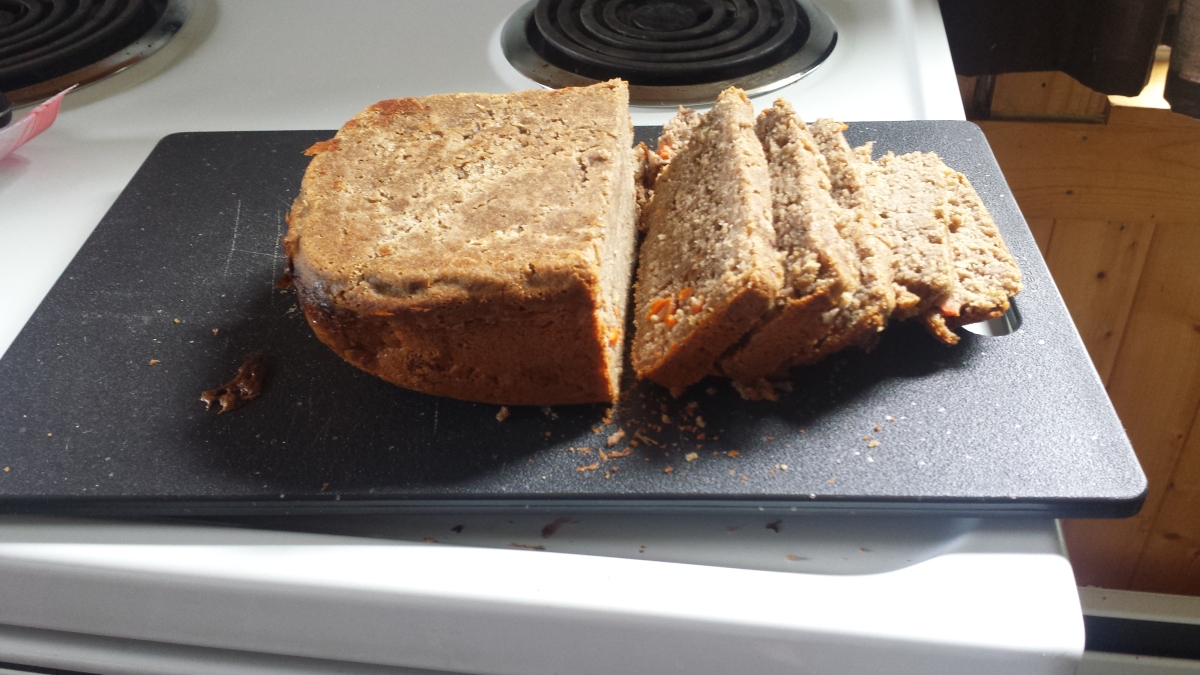
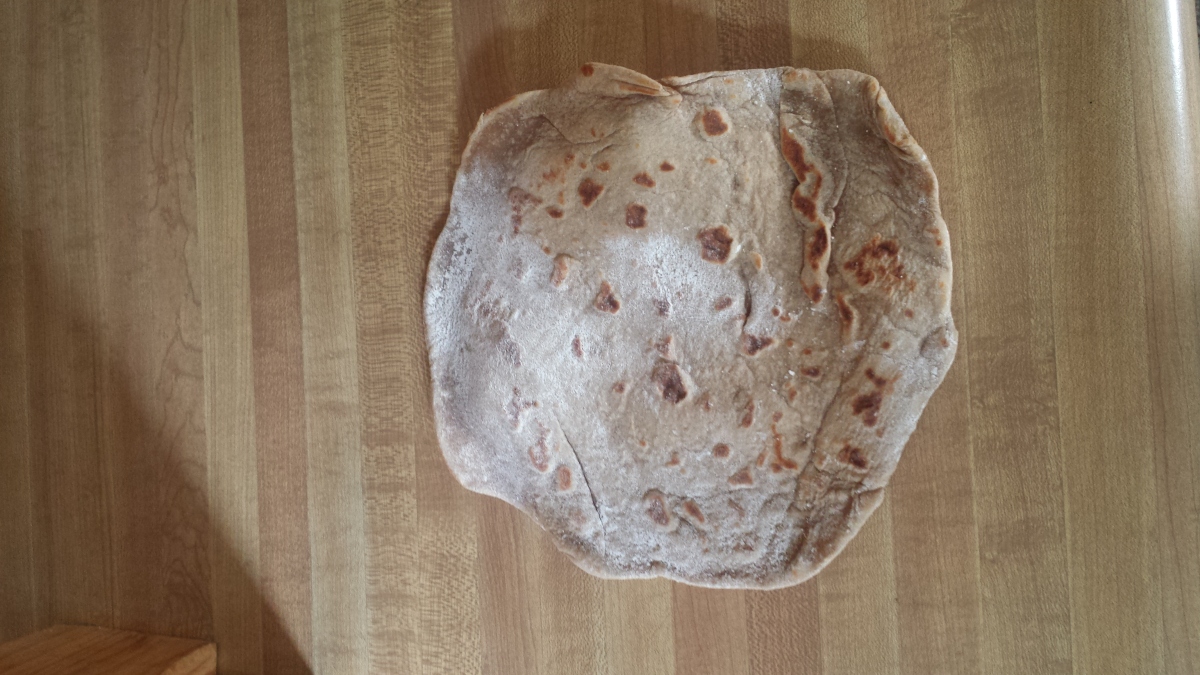
He grew accustomed to my homemade, non-processed food, and began wanting to cook his own homemade foods as well. It created a new passion and hobby for both of us.

Now we both enjoy doing this together, and he has thanked me for never giving up on my healthy food preaching.

Since then he has learned how to make his own chicken sausage, andouille sausage (WITHOUT MSG), all the same Cajun delicacies without any extra ingredients, beef jerky, and other delicious homemade food.

This has fueled both of us to work together to become more self- sufficient, all the while saving money.

It’s been a win-win situation.

So don’t give up! If your husband is like that, don’t lose hope! Keep speaking the truth about why we need to eat healthy foods without all the artificial things in them.

You’ll save time, money, and your husband. 

You are not alone in the struggle to keep your family healthy!

So have a great day and let me know in the comments about your situation!

Amanda


The BEST Strawberry “Cheesecake” Fat Bomb Recipe!!

So, you haven’t lived until you’ve tried a strawberry “cheesecake” fat bomb!

JUST SAYING! 🙂

It is so simple to make, and it tastes SO GOOD! Especially when you are on a keto diet, you need that sweet tasting treat to keep you going.

And just knowing that you aren’t going to ruin your keto diet by eating something so delicious is what makes it so great to begin with!

Here is my version of a strawberry “cheesecake” fat bomb:

8 0z cream cheese, room temp

1 stick of organic butter, room temp

2 tsp vanilla (I use my homemade one)

stevia (I just sprinkle it in there)

frozen strawberries, mashed up (about 1/4 c)

Directions:

Use mixer to smooth together cream cheese, butter, vanilla, and stevia.

Add strawberries and fold in with spatula

Fill mini muffin liners with mix and put in freezer for an hour, then store in air tight container in freezer!

You can check out my video I made on how to make it here!

I am in love with these mini cheesecakes and hope you will try them too!

Let me know if you have in the comments below!

Have a great day!

Amanda


Freezer Meals That Save You Time & Money!!

Hey there! I hope you are having a great day!

Today I wanted to talk about why freezer meal prep is the best money and time saver!

Just recently, I discovered freezer meals. Basically, you put all the ingredients for a meal into a ziploc bag, and freeze it until you want to cook it in the crock pot. Then you just simply take out whatever meal you have prepped the night before, and it’ll be ready and thawed the next day to throw into the crock pot.

And that’s it!

Your dinner is cooking and you put practically no time into it at all because you did all the “work” previously by putting all the ingredients together ahead of time!

The first time I tried it, I spent about $140 and got about 21 crock pot dinners out of it.

                            BEFORE

                           AFTER


That’s really not that bad considering there’s only 30-31 days in a month. There was always left overs, so it stretched throughout the whole month for me! I was hooked after that!

This is why it saves you SO MUCH money. Just think about all the days you turn around and it’s almost 5 pm and you haven’t even thought about what you are going to make for dinner.

You may either decide to order food, or go to the store last minute and end up spending $40 on one meal!

By making a list of all the meals, and all the ingredients you need, and heading out to the store in one trip —- you save all the time, energy, stress, and money you would be spending if you didn’t prep ahead!

I got the idea completely from this smart lady!

If you are tired of cooking every day and want to save a ton of money, I highly suggest giving freezer meal prep a try! It’ll make your life so much less stressed and chaotic when it comes to feeding your family!!!!

Let me know in the comments if you’ve tried and, and share some of your favorite recipes!

Take care,

Amanda


The Cheapest, Easiest & Quickest Way To Grow A Scoby For Homemade Kombucha!

Lately I have been experimenting with Kombucha after I bought a GTS Gingerade kombucha and became addicted immediately. I couldn’t get enough of the stuff, and after buying about 7 bottles, I realized I would need to start making my own because $3 a bottle just won’t cut it for me!

So I did a lot of research, and discovered that all you need to do is get or grow a scoby. My first attempt to grow a scoby failed because I used a bottle of Wonder drink plain kombucha, not realizing they kill all the bacteria in their drink before putting it out to sell.

But once I realized that I needed ORGANIC RAW kombucha —- I set out to make it happen. The only kind of organic raw kombucha I could find in my area was the GTS gingerade, which only cost $2.82 at Aldi, or $2.97 at walmart. I bought a bottle, and poured it all into a quart sized mason jar, and put a piece of old t-shirt with a rubberband on top, and put it in my top shelf above my fridge for a week.

VOILA! A SCOBY GREW!

All the blogs and articles I read online said that you can’t use a “Flavored” kombucha to grow a good scoby — but that obviously isn’t true because I did, and it has been producing gallons of kombucha ever since I grew it!!!!

So if you don’t want to order a dried up scoby online and you don’t know anyone who can give you one — all you need to do is invest $2.82-97 from Aldi or walmart, dump it into a glass jar, cover it, and let it sit for a week. VOILA — scoby!

** After I grew that scoby, I started making kombucha a little at a time to give the scoby a good foundation and time to develop. I first used it to make a quart, and then I increased it to half a gallon, and then onto a full gallon.

I also have been flavoring my kombucha every week with strawberries, and this week I tried fresh ginger and strawberries and it is simply delicious!!!! I do a second fermentation with the fruit for a day or two, and it works like a charm! This drink is so refreshing and delicious! I am simply hooked!

I have been continuously brewing kombucha each week. Now I am up to brewing two gallons at a time with two glass jars. I bottle it after a week and add the fruit, let that sit for a day or so, put it in the fridge, and then I have enough kombucha to last me for the rest of the week while my two gallons are brewing. It is the perfect schedule. But keep in mind, it did take time to develop — but now I am reaping the fruit of my seed sowing in investing in kombucha!!!

***Culturesforhealth.com is where I mostly found all the information I needed for brewing home made kombucha!

Kombucha In the second fermentation (flavoring) stage in my pantry!
Kombucha Brews!
Look at that SCOBY! It all started with one bottle of GTS!


Soaked Whole Wheat Egg Noodles!

Here is a very simple home made soaked egg noodle recipe that I have been using for my chicken soup recipes! 🙂

The night before you want to make the egg noodles mix together:

  • 3 cups white whole wheat flour (I use King Arthur’s stone ground)
  • 3 TBS apple cider vinegar
  • 2/3 cups warm purified water
  • 2 egg yolks

Add all these ingredients and knead in a bowl until smooth.

Cover with plastic wrap and let soak overnight.

Dough Ready To Soak

The day you want to make the egg noodles add:

  • 1 TBS of salt to the soaked dough and knead it into the dough.

Separate the dough into about 3 balls and roll the dough out. I just so happened to find this pasta maker at a rummage sale and have been using it to now make the egg noodles and home made spaghetti (recipe coming!) and it is so easy!

Pasta Maker and Noodles On The Side!

But even if you don’t have a pasta maker, you can roll out the dough with a rolling pin to a pretty thin piece, and then cut it up using a pizza cutter, or just a butter knife — whatever you have on hand. It all comes out the same anyways! 🙂

After I make them into the noodle shape, I boil the noodles for about 5 minutes or so, and then I store them in a tupperware for when I am ready to make my home made chicken noodle soup! It is as simple as that!


The Best Whole Chicken Recipe and Stretching It For 3 Uses!

Something amazing I’ve learned is that you can buy a whole organic chicken for 10$ roughly (I get mine at Aldi), and get 3 different uses out of it just by baking it!

The first thing I do, is cook the chicken whole.

I heat my oven to 450 degrees, and put my cast iron skillet inside which is greased with some extra virgin olive oil, and let it heat up while the oven is preheating.

Next, I take the chicken out of the package, get rid of the insides, and pat it dry.

While the oven and skillet are heating up, I make a spicy rub for it using:

  • salt
  • pepper
  • garlic powder
  • onion powder
  • thyme
  • sugar
  • paprika
  • cayenne pepper

I usually use 1 teaspoon of each, except for the cayenne pepper! 🙂

Next I rub the spice mix all over the chicken.

Once the oven and skillet are heated up, I take the skillet out, and place the chicken in the skillet, and put it back in the oven.

Skillet Ready!

I let the chicken cook until the breast temp is about 120 degrees, and the thigh is 135 degrees.

Next, I turn the oven off and let the chicken stay in the skillet in the oven, still cooking until the breast is about 160 degrees, and the thigh 175 degrees.

All together, it usually takes around an hour.

Then I serve the chicken with potatoes and veggies for dinner! It is juicy and delicious!

The next thing I do with the whole chicken after we eat it for dinner is make bone broth:

I pick off whatever meat is still on the chicken, and take all the bones and carcass and put it in my crock pot. I store the chicken in the fridge because I use it for the third use. 🙂

Chicken saved on the side & Bones in the Crock pot!

Once the bones and carcass are in the crock pot, I pour in the juices from the skillet and some skins too for flavor and add some chopped onions, celery and carrots, and cover all of it with purified water and set it on low!

Simple as that!


***********I wait 24 hours, drain the crock pot, and set the bone broth to the side.

The third thing I do with this whole chicken now that I have left over chicken and bone broth, is make homemade chicken noodle soup!

*** I also take the time the day before to soak flour for home made egg noodles to put in the chicken noodle soup! (Recipe coming!)

For the chicken noodle soup, I put:

  • carrots, celery, onion and oil in a large stock pot and let them get nice and soft
  • then I add some minced garlic and let that get mixed in with the veggies
  • then I add about 6 or 7 cups of the bone broth I just made, plus the same amount of purified water
  • 2 bay leaves, thyme, oregano, salt and pepper
  • egg noodles
  • left over chicken in the fridge
  • some lemon juice

I let this cook and simmer for some time before eating it for dinner, and then storing the rest in the fridge and freezer, along with the extra bone broth in the freezer!

It is unbelievable how much good food is yielded from a $10 chicken!!!!! 🙂


Soaked Carrot Cake Bread Recipe For A Bread Machine

This is another soaked recipe I kind of had to come up with, sort of. I couldn’t find any straight soaked recipe for it, so I kind of just made it up with regular carrot cake bread recipes. It is delicious and so worth the extra step!

The day before you want to bake the carrot cake bread:

  • Mix 2 cups of stone ground white whole wheat flour
  • 1 cup of warm purified water
  • 2 TBS yogurt (or other acidic medium) I use my home made greek yogurt!
  • 3/4 cups melted coconut oil

After it is all mixed, cover with clear wrap and let it sit overnight!

The day you want to bake the bread:

  • Mix into the bread machine pan: 2 eggs, 1/2 tsp vanilla
  • put the soaked dough in
  • a pinch of salt
  • 1 tsp baking powder
  • 1 tsp baking soda
  • 3/4 cups stevia
  • 1/3 cup brown sugar
  • 1 tsp cinnamon
  • 1/4 tsp all spice
  • 1 cup grated carrots
  • walnuts

After all the ingredients are in, put on the cake bread setting!

Once it comes out, I let it cool off, cut it up, and put it into a gallon zip lock and store it in the fridge! 🙂 Delish!

Here is the finished product!

Soaked Whole Wheat Tortillas and Taco Recipe!

Another soaked recipe I’ve been using lately is to make my own home made tortillas for tacos! They are so simple and delicious!

The day before you want to eat tacos, mix:

  • 2 cups stone ground white whole wheat flour
  • 1/4 cup coconut oil (cut in the oil with a pastry cutter)
  • then add 3/4 cups purified water
  • 1 TBS apple cider vinegar

Be sure to only mix these all together after cutting in the oil with the flour, and then only use a fork to mix it all together!

Let this mixture soak over night or 24 hours!

When you are ready to cook the tortillas:

  • knead into the dough 1 tsp of salt for about 5 minutes
  • dust your counter with corn starch or arrowroot powder
  • turn the dough into 8 little balls
  • heat a non-stick skillet on medium-high heat (no oil required)
  • roll out the dough ball with a rolling pin into a circle as best you can (I found that I have to be careful when rolling it out, and have to keep putting corn starch to make sure it doesn’t rip or stick when I pick it up!)
  • place rolled out dough into the heated skillet and cook on each side for about 30-60 seconds
  • repeat!

Here is the finished product! 🙂

It tastes much better than store bought tortillas!

Taco Recipe:

  • I use ground turkey for tacos, but you can use ground beef or ground chicken as well if you’d like!
  • I cook the ground turkey in a skillet on high heat (stirring and making sure all sides are cooked)
  • Once the turkey is cooked pretty good, I add in my home made taco seasoning (see below)
  • And add about 3/4-1 cup of purified water
  • Mix all together and let it simmer for about 10 minutes, stirring until most of the liquid has cooked off
  • serve with salsa, shredded cheese, lettuce, or whatever you like! 🙂

Home Made Taco Seasoning:

  • 1 TBS Chili powder
  • 1 1/2 tsp cumin
  • 1 1/2 tsp paprika
  • 1 tsp oregano
  • 1 tsp salt
  • 1/2 tsp garlic powder
  • 1/2 tsp onion powder
  • 1/4 tsp cayenne pepper